I wanted to share one of my favorite scriptures from the Book of Mormon today:
“Now ye may suppose that this is foolishness in me; but behold I say unto you, by small and simple things are great things brought to pass; … and by very small means the Lord doth confound the wise and bringeth about the salvation of many souls.” Alma 37:6-7
It is great to know that those that continually try to be better can achieve the fullness of the gospel and eternal life...what a great blessing.
On another note. Small and simple things on my part are slowly bringing my dream of having a successful blog to past.
I am always looking for snack ideas for my kids. If I don't keep it creative, then they always revert to wanting fruit snacks.
So, here is an easy fun solution with SO many possibilities...
Banana Pops What you will need: Banana's Cut in Half Your Choice of Yogurt Your Choice of Toppings: Rice Cripsies, chocolate chips, smashed graham crackers, smashed cereal, nuts, or anything else you can think of. Popsicle Sticks
Here were my cast of characters:
Start by peeling your banana, placing a Popsicle stick inside and then rolling it in your yogurt.
Roll into your topping.
Place in Freezer Bags. I chose to freeze them two at a time because I have two kids and I know I will thaw them two at a time. You could wrap them individually in Freezer wrap.
What I love about this snack, the possibilities are endless.
I have been wanting to try this Chicken for a while. My picture may not be as perfect as her for lack of photography skills, but it sure was a delicious meal. Even the husband praised it (which seems to happen very little). Another idea that she had...Put it on a Kaiser Roll and it would make a wonderful lunch.
For the full recipe, go here to the Pioneer Woman Cooks.
A couple of notes: I HATE and when I mean Hate....I really do Hate mustard. I can't stand it, but in this recipe, it just gives flavor. It does not taste like mustard or else I wouldn't have eaten it. I also used lime juice cause I didn't have lemon juice. It worked out great.
Last week my friend asked me to do an Army Cake for her Son's Birthday. It was a lot of fun to make. The best part about it was that it wasn't stressful. When you are creating dirt, you don't have to be perfect. I baked two round cakes, one 9 x 13 and 12 mini cupcakes. I didn't want it to look like the shape of a 9 x 13 so I cut jagged pieces and placed mini cupcakes upside down to look like boulders.
This is one of my favorite scriptures. It speaks for itself.
“My grace is sufficient for all men that humble themselves before me; for if they humble themselves before me, and have faith in me, then will I make weak things become strong unto them” (Ether 12:27).
A friend of mine passed this recipe on to me a while back. It has been a family favorite at our house. I love the crust that it forms and the juiciness of it. YUM!
Yummy Crusted Salmon
By: Laura May
Ingredients:
1-2 t.. Lemon Pepper (Sprinkle as wanted)
2 Tbsp. Soy Sauce
2 teaspoons. olive oil
2 teaspoons sugar
Directions:
Sprinkle the Lemon Pepper on one side of the Salmon.
Mix the remaining ingredients in a bowl and whisk.Brush mixture on the same side that the lemon pepper is on.
Broil for 6 minutes.
Flip Salmon over and repeat Lemon Pepper and mixture on top.Then Broil the other side for 6 min.
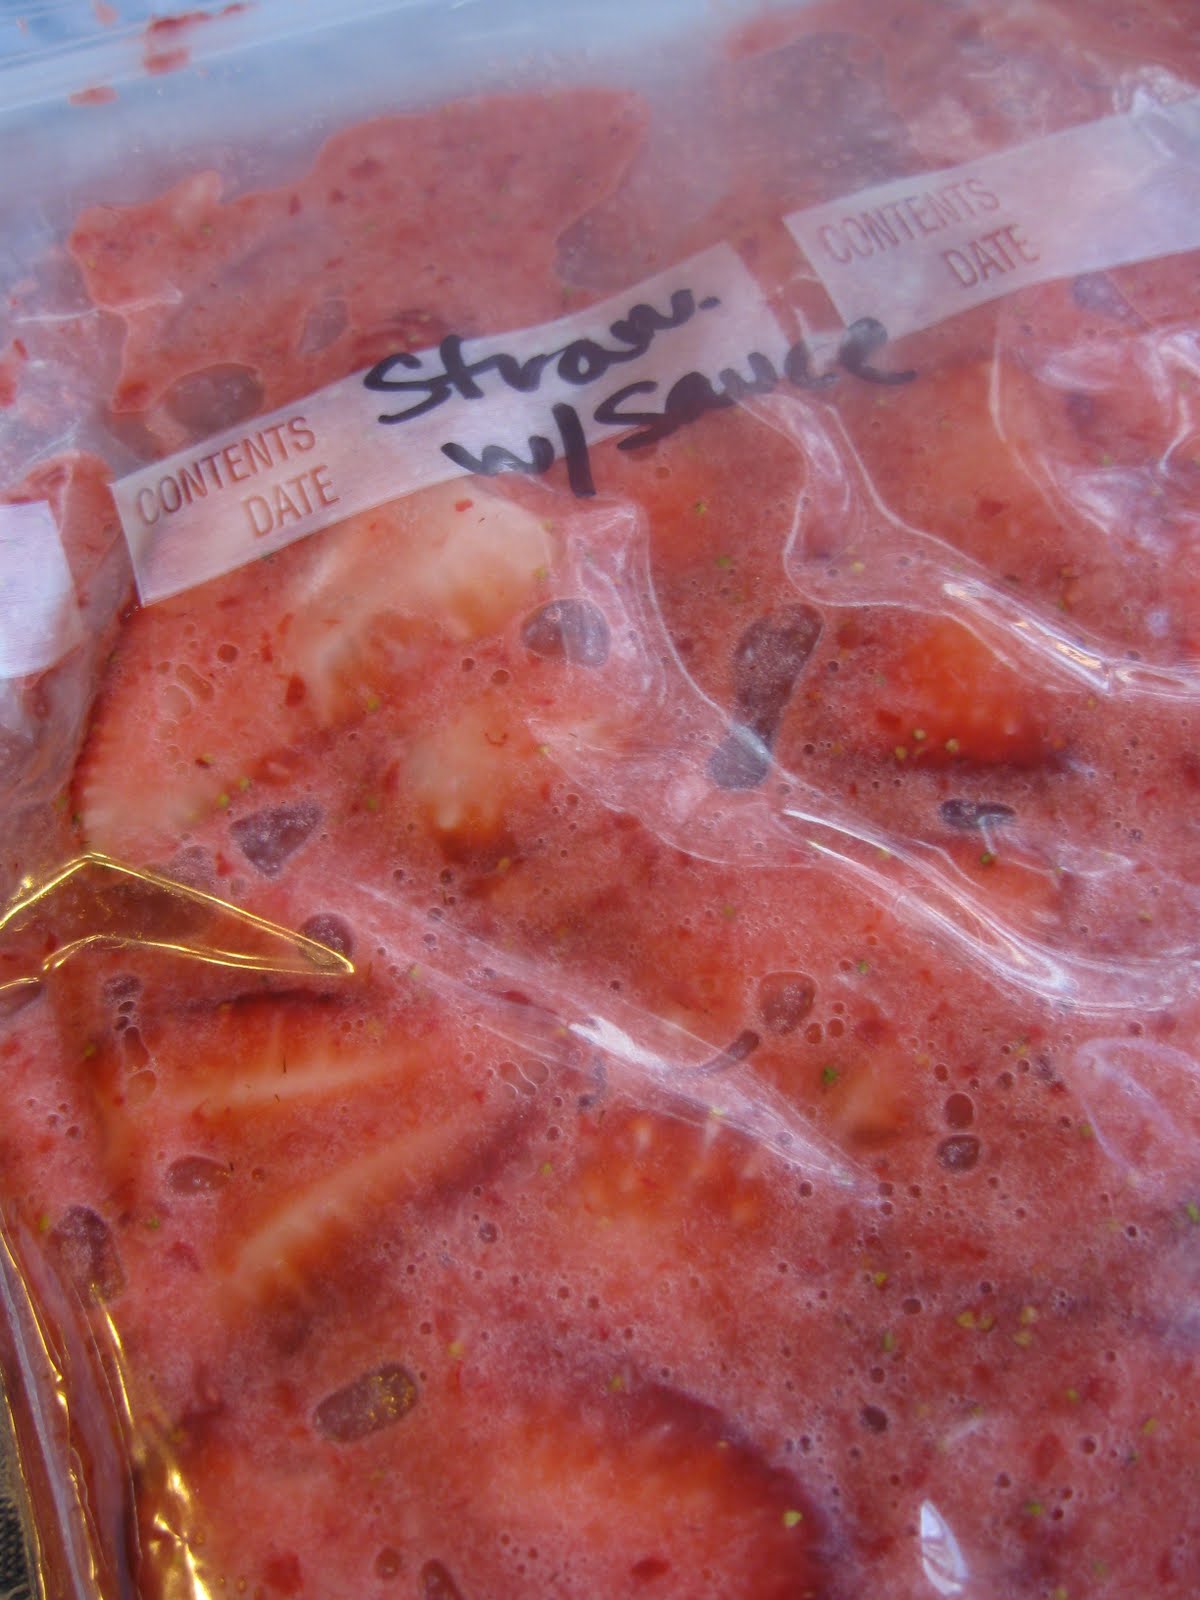
I am trying to save a little more money and waste less food around here. Normally I will just throw out strawberries that are looking a little past their prime.
We love pancakes and crepes at our house. We also love to put strawberries on those two things, so I decided to save the strawberries.
Here is how I did it.
Cut all strawberries and slice into thin pieces. Sprinkle about 2 T. of sugar and 1/2 t. vanilla over the top.
Mix!
Let sit 10 min and let the juices begin to form.
I then took half of my strawberries, placed them in the blender with a Tablespoon of milk to form a syrup. Then I added the syrup back with the strawberries, mixed it well and then placed into freezer bags.
There is a local TV station that is doing the $5 Project challenge. Since I didn't have $5 that day nor a car to go buy craft items, I went digging through my craft box. I found a couple of items that I bought at the $1 section of Target a couple of months ago. I hadn't figured out what I was going to do with them yet. Then I found my alligator clips. That is when I decided to make some hair clips for my daughter.
I started with alligator clips, two boxes of bright ribbon, 1 box of felt flowers as well as 1 box of colorful brads.
President Thomas S. Monson said that we should all try and live by this Poem:
I have wept in the night For the shortness of sight That to somebody’s need made me blind; But I never have yet Felt a tinge of regret For being a little too kind. -Anonymous
It has been years that I have wanted to try making cinnamon rolls. I finally bit the bullet, did some research on which recipe I wanted to try, and did it. I found this recipe from That’s the way the Cookie Crumbles. She combined 3 of her favorites into one.
I started by making the dough and letting it rise. Then I punched it down and rolled it out into a 12 x 16 rectangle.
Then I made the filling...brown sugar, cinnamon, salt and butter.
Doesn't this look delicious. I think my kids enjoyed eating the crumb that fell onto the counter.
Then, place the filling onto the dough.
And Roll into this beauty...
then I sliced it with dental floss and let it rise again.
Okay, now here comes the hard that I hope y'all wont judge me for. I was in a little bit of a hurry when I iced these babies (yeah, a hurry to eat them!). So I didn't soften the cream cheese which I will do in the future. I also slightly over cooked them as well, so don't laugh at the final picture, cause the picture itself just plain sucks. It does not do these yummy treats justice.
Okay...
No judging,
right?!?!
Perfect Cinnamon Rolls
Dough:
½ cup milk
7 tablespoons unsalted butter
½ cup warm water (about 110 degrees)
1 envelope (2¼ teaspoons) yeast
¼ cup (1¾ ounce) sugar
1 large egg, plus 2 large egg yolks
1½ teaspoons salt
4-4 ½ cups (20 to 21¼ ounces) unbleached all-purpose flour, plus more for dusting the work surface
Filling:
¾ cup packed (5¼ ounces) light brown sugar
2 tablespoons ground cinnamon
1/8 teaspoon salt
1 tablespoon melted butter
Glaze:
1 cup (4 ounces) confectioners sugar, sifted to remove lumps
1 ounce cream cheese, softened
½ teaspoon vanilla extract
1-2 tablespoons milk
1. Heat the milk and butter in a small saucepan or in the microwave until the butter melts. Remove the pan from the heat and set aside until the mixture is lukewarm (about 100 degrees).
2. In the bowl of a standing mixer fitted with the paddle, mix together the water, yeast, sugar, egg, and yolks at low speed until well mixed. Add the salt, warm milk mixture, and 2 cups of the flour and mix at medium speed until thoroughly blended, about 1 minute. Switch to the dough hook, add another 2 cups of the flour, and knead at medium speed (adding up to ¼ cup more flour, 1 tablespoon at a time, if necessary) until the dough is smooth and freely clears the sides of the bowl, about 10 minutes. Shape the dough into a round, place it in a very lightly oiled large bowl, and cover the bowl with plastic wrap. Leave in a warm, draft-free spot until doubled in bulk, 1½ to 2 hours.
3. Mix together the filling ingredients in a small bowl. Grease a 13 by 9-inch baking dish.
4. After the dough has doubled in bulk, press it down and turn it out onto a lightly floured work surface. Using a rolling pin, shape the dough into a 16 by 12-inch rectangle, with a long side facing you. Mix together the filling ingredients in a small bowl and sprinkle the filling evenly over the dough, leaving a ½-inch border at the far edges. Roll the dough, beginning with the long edge closest to you and using both hands to pinch the dough with your fingertips as you roll. Moisten the top border with water and seal the roll. Lightly dust the roll with flour and press on it ends if necessary to make a uniform 16-inch cylinder. Cut the roll in 12 equal pieces and place the rolls cut-side up in the prepared baking dish. Cover with plastic wrap and place in a warm, draft-free spot until doubled in bulk, 1½ to 2 hours.
5. When the rolls are almost fully risen, adjust an oven rack to the middle position and heat the oven to 350 degrees. Bake the rolls until golden brown and an instant-read thermometer inserted into the center of one reads 185 to 188 degrees, 25 to 30 minutes. Cool for 10 minutes. Meanwhile, stir the glaze ingredients together until smooth. Glaze the rolls and serve.
This post is linked to:
Anti-Procrastination Tuesdays at New Nostalgia.