Showing posts with label Home Decor. Show all posts

11.28.2011

Desk Update

I forgot to take a before picture, so there is not as dramatic of an effect, but here is Emma's new homework desk.  It was an old dingy dark stain with lots of scratches and  I even found '4:20' carved into the edge.   I'm glad that I got that out.  

I was going for the weathered look. Emma got to pick out the color.  My favorite part is that the drawers are lined with an old newspaper.  


7.03.2011

4th of July wreath

This wreath was so easy (and cute...right?!?).   All you need is 1 foam wreath, about 6 small sheets of felt in each color (red, white and blue ), some hot glue, siscors and a pen.
Use the top of a cup or can to trace circles onto felt.  Cot out about 30 circles for each color. To place them on the wreath I folded the circle in half and then in half again.  Then place the pen in the center of folded circle and push the pen into the wreath. I just pulled the felt back out and then hot glued it and pushed it back in with pen again. That way it is more permanent.  I then just eyeballed where I wanted the colors to be place and continued around the whole wreath. Add a couple of stars and you are done.


5.20.2011

M is for Moss

I saw this Moss letter on a blog the other day and loved it. I finally got around to making it.

Here is a quick and easy tutorial on how to do it.


I used sheet moss. Laid it out with my letter and trimmed the excess.

Cut slits in between openings in the letters.

Fold the moss over and glue.

And walla! So simple.


1.06.2011

Looking Ahead

After discovering this Christmas that my little girl is a girly girl and loves make up and getting beautified, I keep looking at teen rooms and some ideas for her room when we get a house.

I saw this today and thought...that would be perfect.


I love this idea in a small home for a computer area too. If I was in this small condo any longer I might have used this in my dining room to hide my computer area.

11.29.2010

All the Stockings Were Hung....

I really wish that I had a fireplace this time of year. Not just for the warmth, but for the Christmas decorating possibilities.

I wanted to create a wall of stockings this year. I really wish that I had a vinyl cutter, but I don't, so this was all done by hand and paint.


The kids helped me make it on Saturday night and then we hung a shelf and hung the stockings.

I love my little Christmas shelf. It even got the approval of my husband.


10.23.2010

Shadow Box...

I have two baby blessing outfits that need framing so that they can be remembered.

They bring special memories of my small children and I want them to be able to keep them when they are older.

I have been trying to find just the right shadow boxes.

I think I finally found it, the problem. I will have to duplicate it on my own.


I think it is so classy, and very doable (with my dad's help of coarse).

I can just picture the two blessing outfits hanging in my kids room.

8.10.2010

Frame corner

I love this idea from pottery barn. I you have an extra corner that you done really use, it would be really cute. I dont think it would work if you had young children like me.


7.20.2010

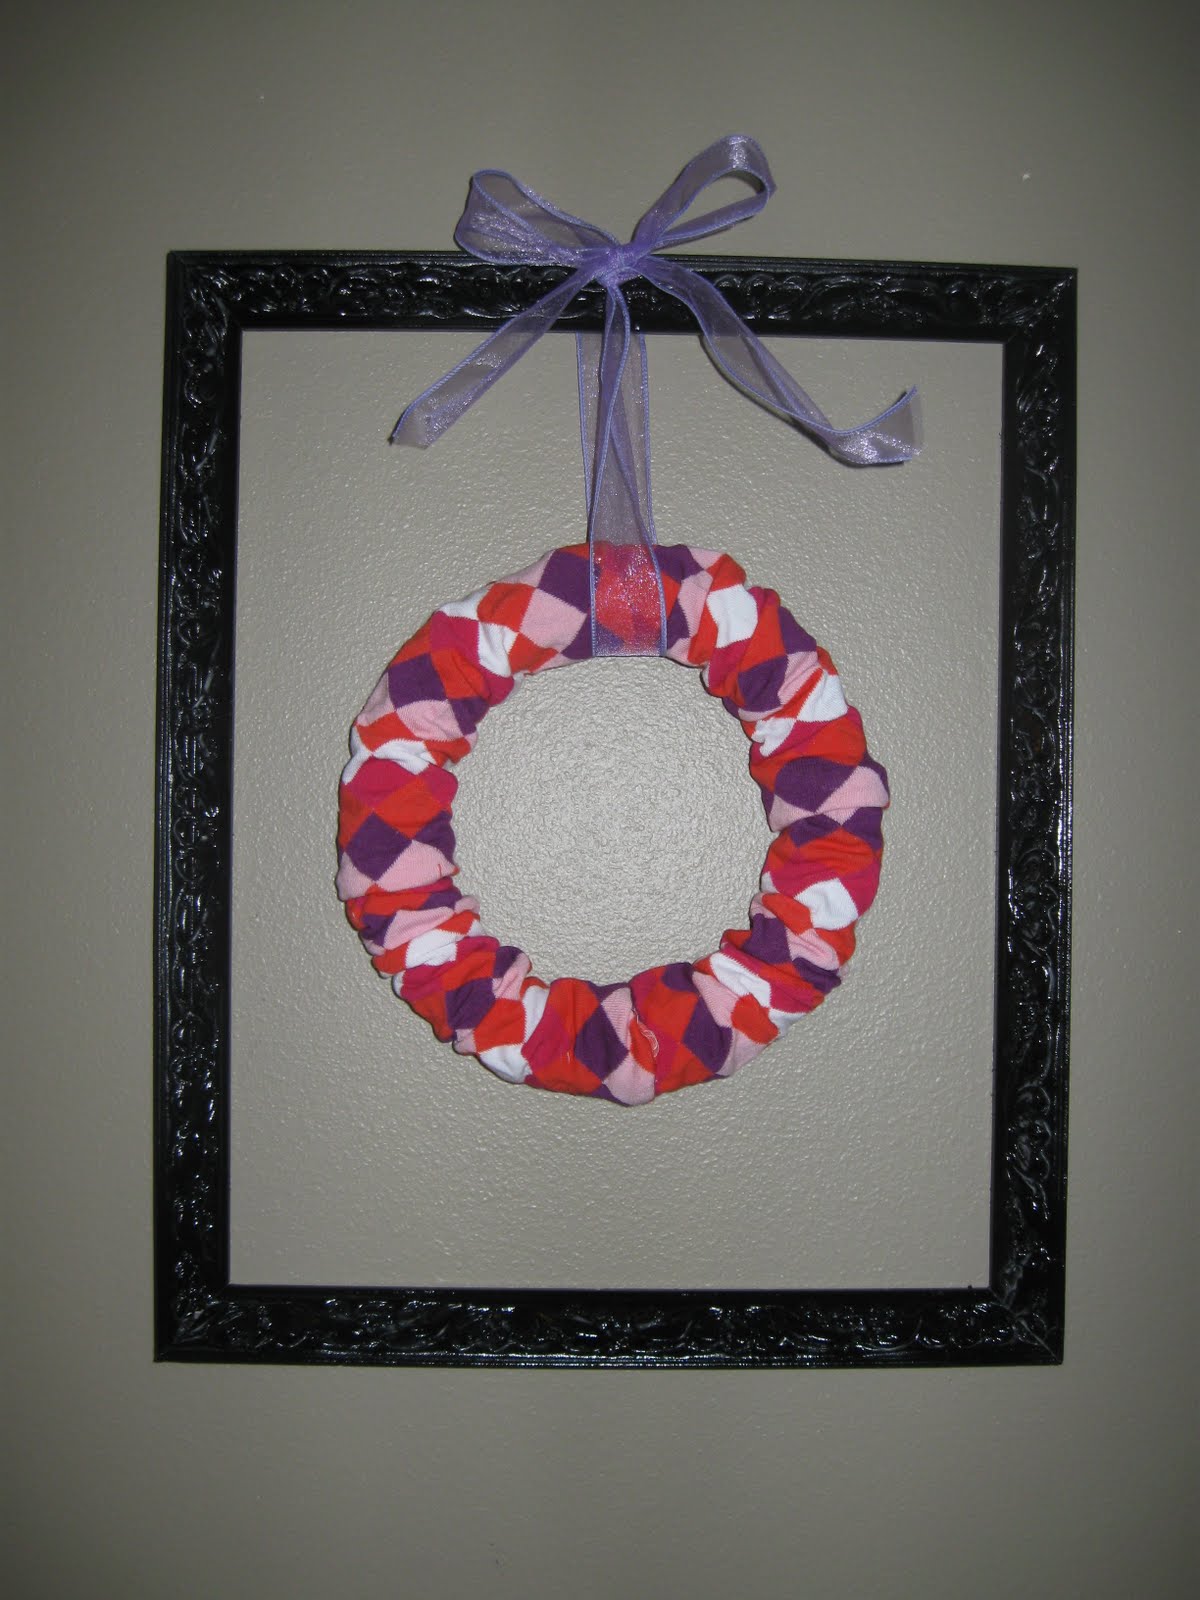
Sock Wreath

I have been wanting to do a quick and easy Decor Project.

I saw these sock wreaths on Blue Cricket Design.

I already had most of the stuff for it, so it was time to begin.


If you check Out Blue Cricket Design, she has a tutorial on how to do it.
It literally took me 10 minutes since I already had a frame waiting around.

Start with a 12" Foam Wreath, 2 Pair of Socks (your choice of color,etc) and some ribbon.
Cut the heel and the toe out of your socks.
Cut an opening in your foam so that you can slide the sock tubes on. Arrange so that the edges are not showing.
Tie Ribbon to Wreath and Hang where desired.


7.01.2010

Decorative Bow Frame

Little girls rooms are supposed to be beautiful....right?

Okay, well, my little one had an wall of an eyesore.

This is how I had displayed her hair bows in the past.

Okay, it worked, but it wasn't very pretty.

After learning how to make a fabric flower, I decided to decorate a Frame for her bows and make it a little more beautiful.

Here was the process that I went through:


Much better than before!

giveaways

Cravings Fulfilled,
Tamber

6.22.2010

Dream Master....

I am obsessed with this Master Bedroom. I LOVE it! I can't get enough of looking at it.
Not only do I love the textures but I LUUUUVE the color, the size and shape of the room (okay, that might not be something that I can duplicate) and of coarse the furniture. Take a look....


I think my favorite thing is the combination of the light blue, navy blue and yellow. I am totally changing the colors of my master bedroom now. And this is what I am basing it off of. Do you think I can pull it off in my tiny little bedroom?

I got the idea for this on a website that always has great ideas.... Brooklyn Limestone.

PS...if you are in love with the tufted comforter like me, Walmart currently has a line of them in the Better Homes and Gardens line. The only problem for me is that they don't have that light blue that I love.

Cravings Fulfilled,
Tamber

6.10.2010

Menu Board

I have been wanting to make a Menu board for a while.
I even had the right frame to start with, but just haven't had the time.

It is still a little unfinished since I want to buy some vinyl letting to put the words 'Menu' and each day of the week.

Here is the before...

And here it is completed with my menu from this week.


I love how it brings a little color to our dining room and also puts the list out there so that my family knows what to expect.


sweetcharli"


Cravings Fulfilled,
Tamber